Creating a Color Schema
The Asset Catalog of colors are the color schema that we can create, from the publication of iOS 11 and Xcode 9, to have in a single point the definition of all the colors of our applications.
This will allow us, on the one hand, to use these colors both from the code and from the graphical interface (storyboard and xib), and, on the other, prepare our application to use the Dark Mode (available in iOS 13 and Xcode 11), such as shown in How to add Dark Mode in iOS 13.
Creation of a color
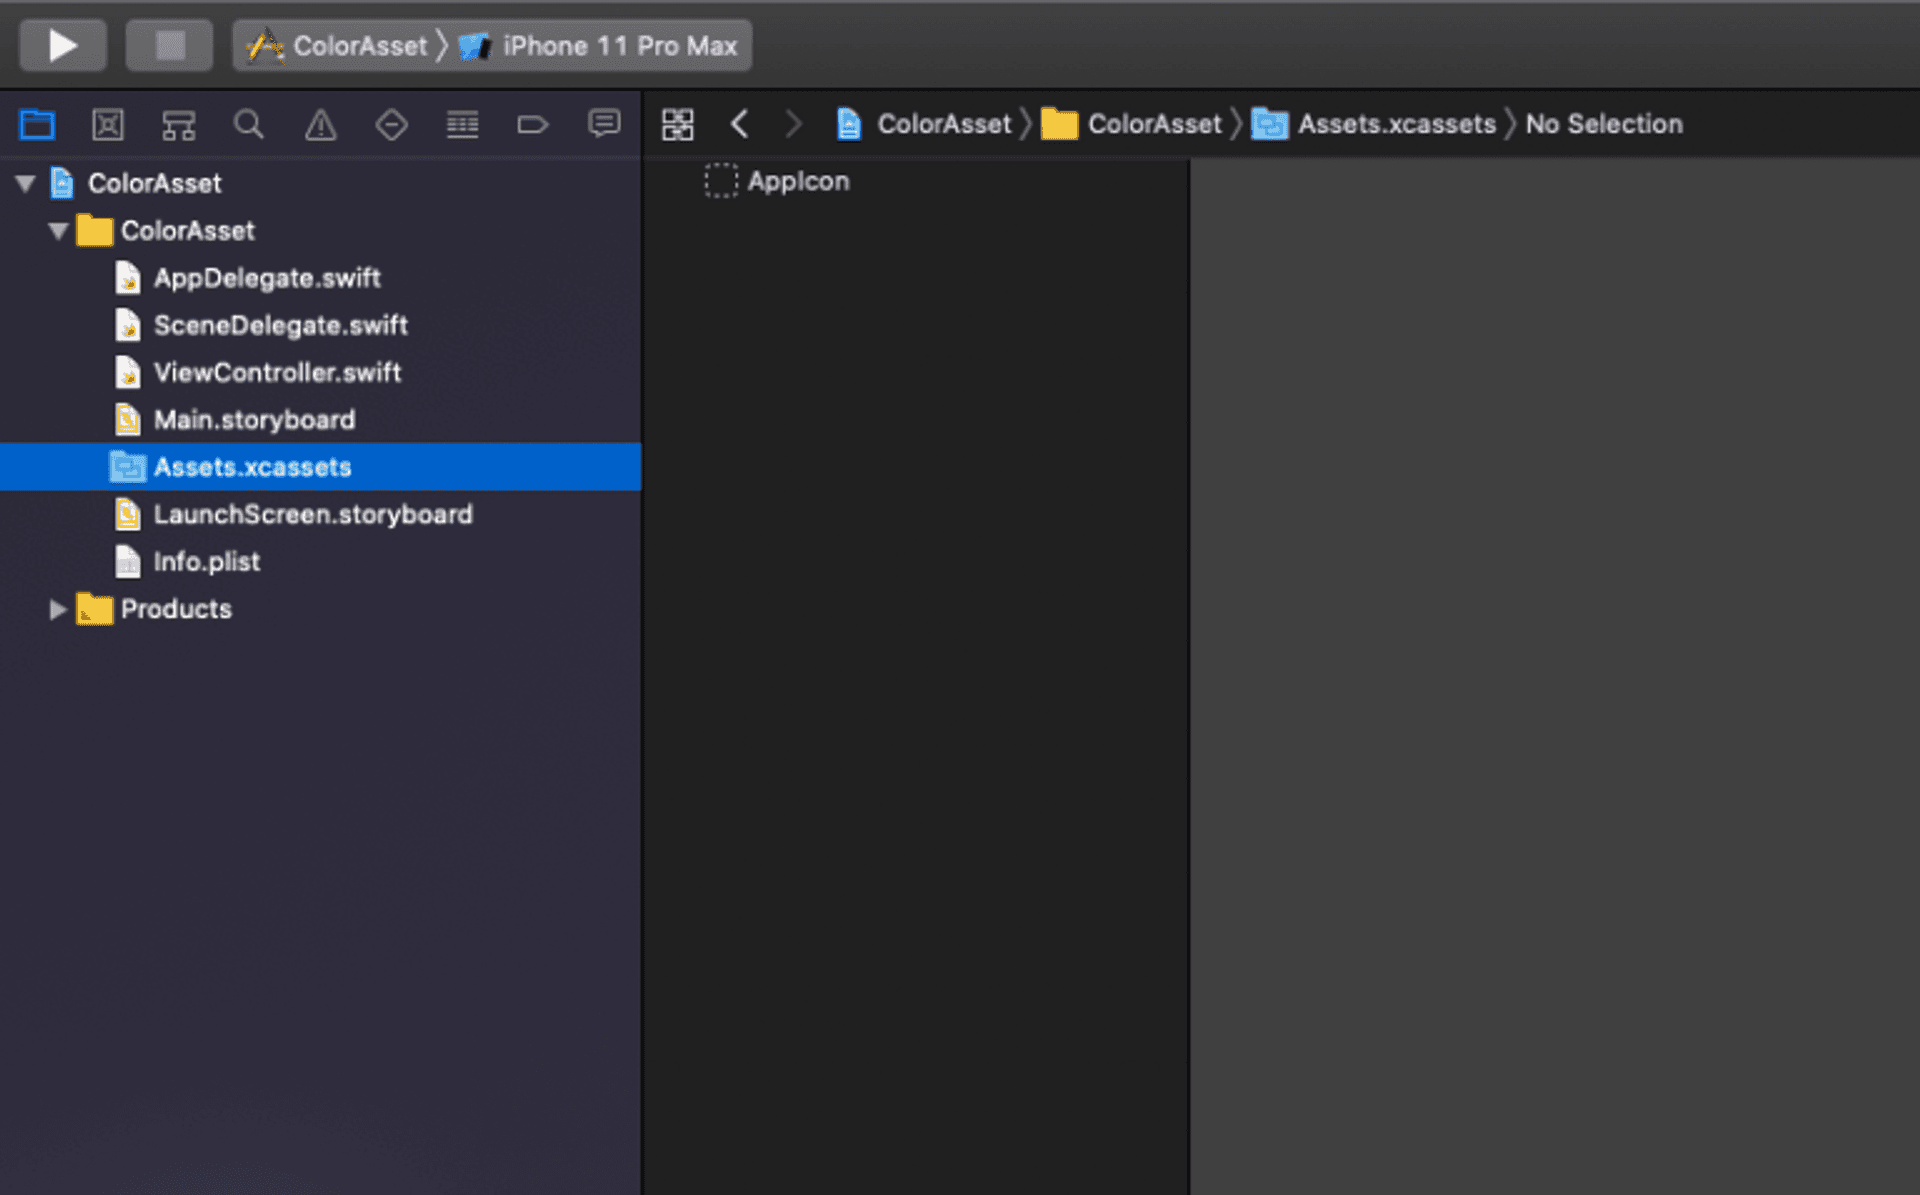
To create a color for our color schema, we can do it directly by selecting the Assets.xcassets folder (or creating our own .xcassets folder for colors) in the project navigator (Project Navigator).
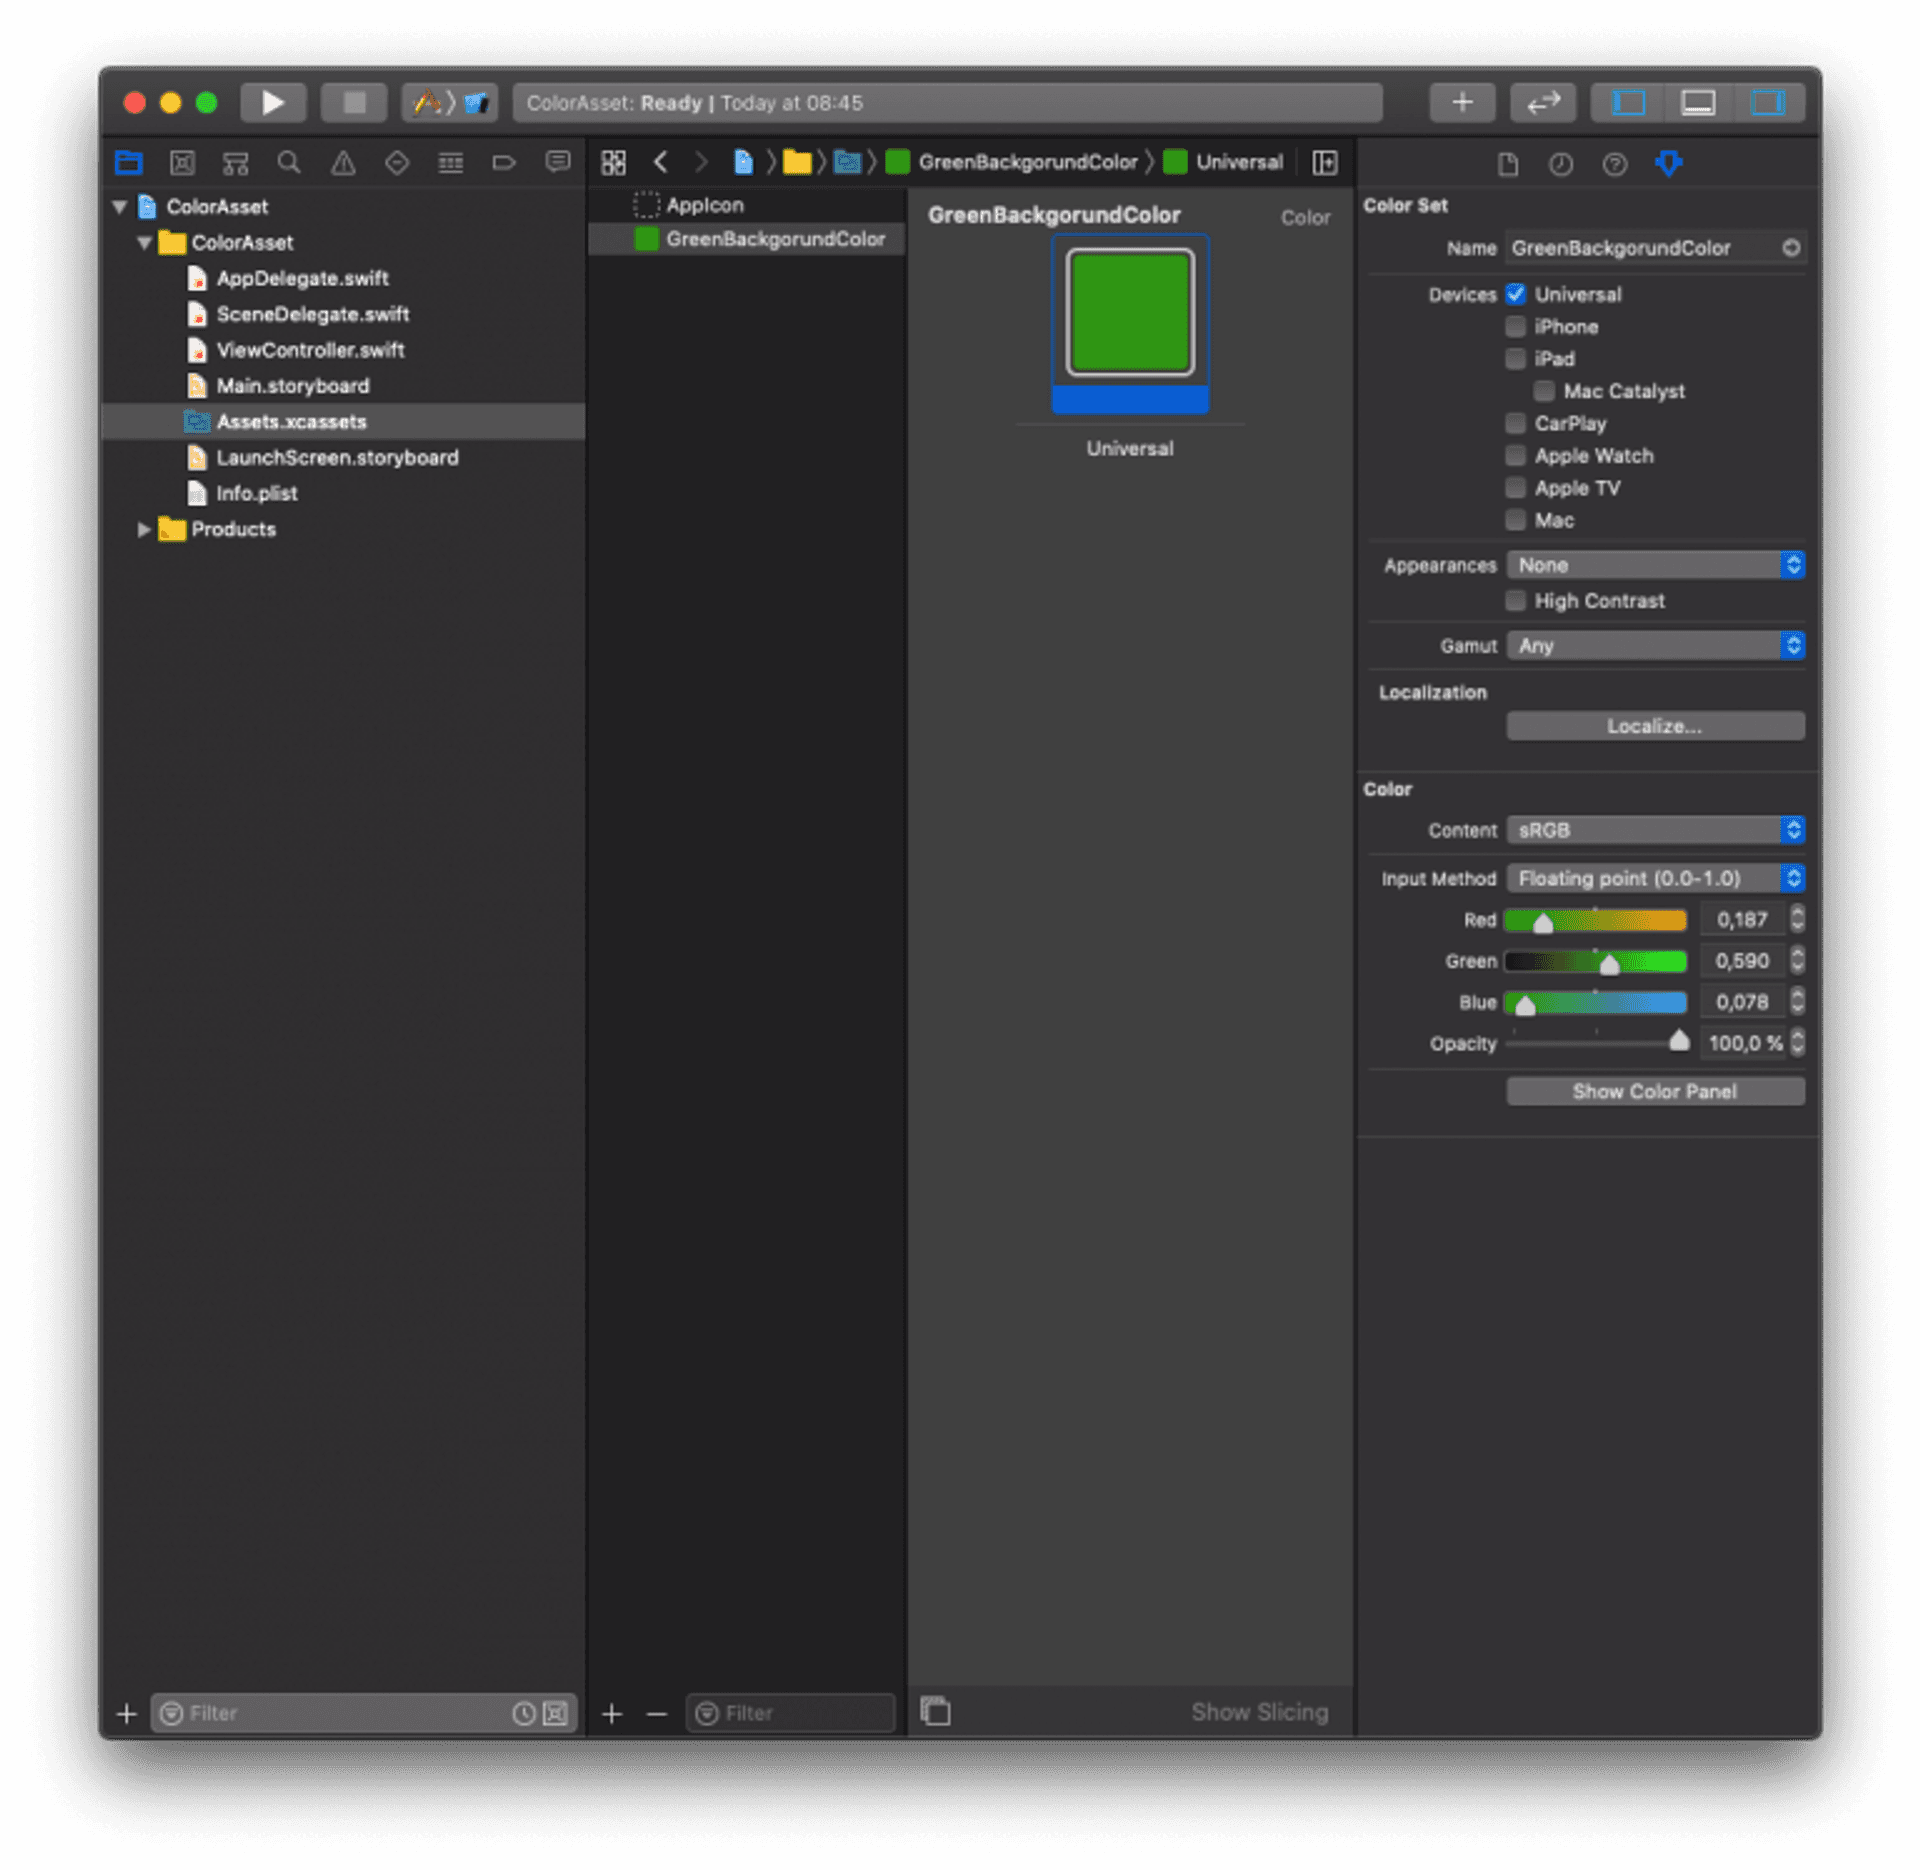
Then we right click and select New Color Set. In this way we have created a new color and, if we access the attributes window, we can change its name and its properties. In this case, we will call this new color greenBackgroundColor.
Use of new colors in storyboard and xib files
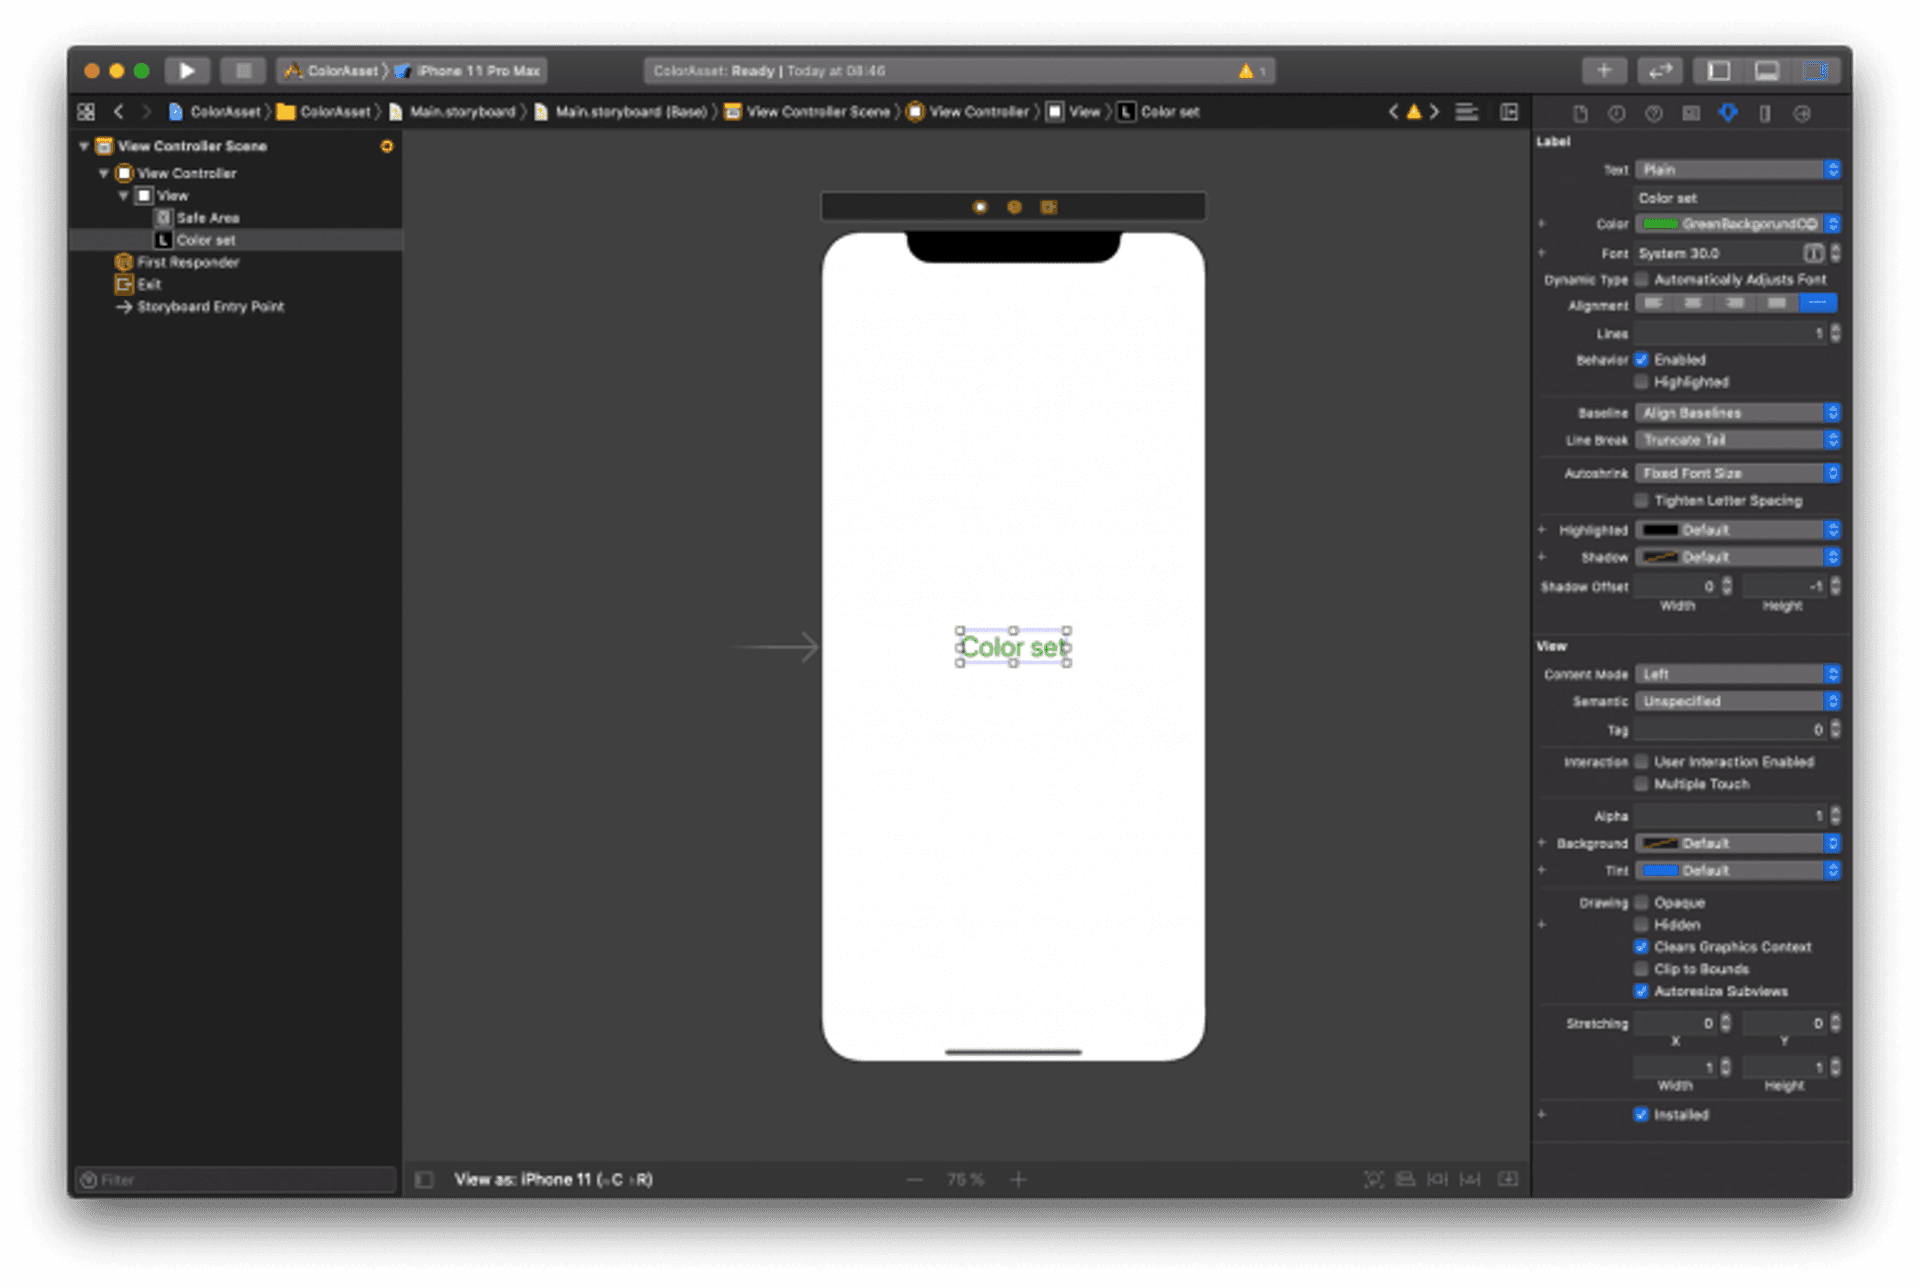
To use the new color of our color schema that we have created from the graphical interface, we simply have to select the properties of the element to which we want to apply the color and select it from the attribute inspector view (Attributes inspector). For example, if we create a label (UILabel), we can go to the Color property, and there select the color we have created.
Use of new colors in the code
To use the new color of our color schema created directly in the code, the best way is to create an extension for the UIColor class and then create a variable with the color name.
For example:
extension UIColor {
  static let greenBackgroundColor: UIColor = UIColor(named: "GreenBackgroundColor")!
}
Which allows us to use this new color as follows:
let labelColor = UIColor.greenBackgroundColor


