What’s VisionKit
In iOS 11 Apple integrated a library called Vision. This library use algorithms to perform a series of tasks on images and video (text detection, barcodes, etc.). Now, with iOS 13, Apple has published a new library, VisionKit, that allows you to use the document scanner of the system itself (the same one that uses the Notes application). Now let’s see how you can develop your own OCR in iOS 13 with VisionKit.
Project start
In order to check how we can scan a document and recognize its content, we create a project in Xcode 11 (remember that VisionKit only works on iOS 13+). This project can be found complete on GitHub).
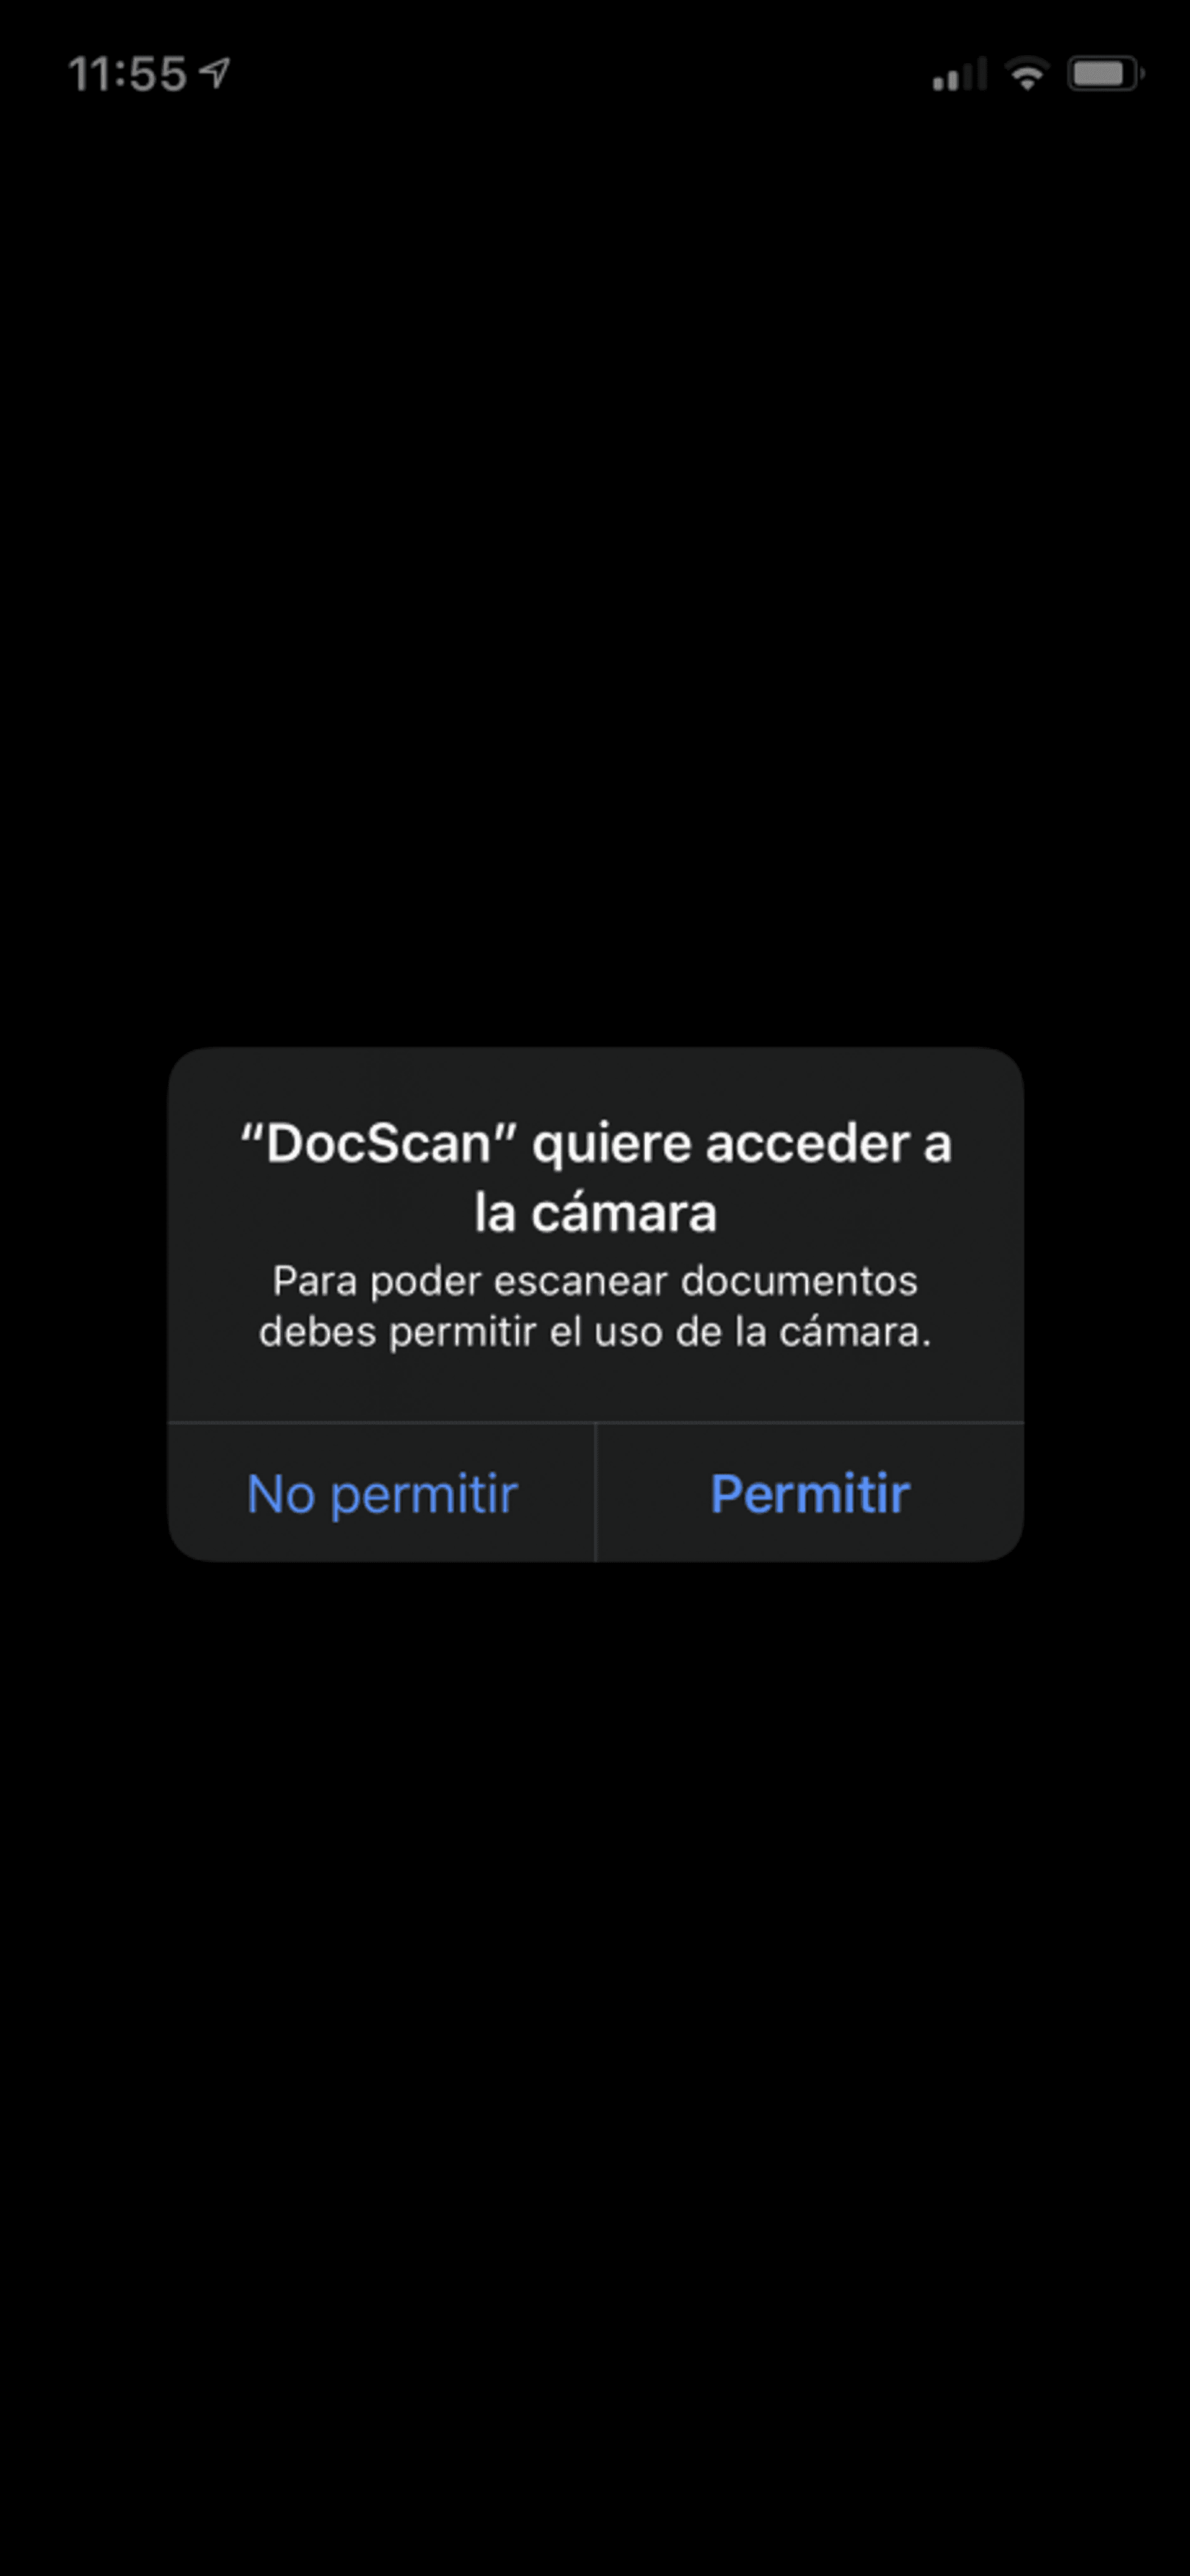
As we are going to use the camera of the device to scan the documents, the operating system will show us a message in which it asks us for permission to use that camera. If we do not want an error to occur and the application to be closed, we must notify the application that we will need the camera.
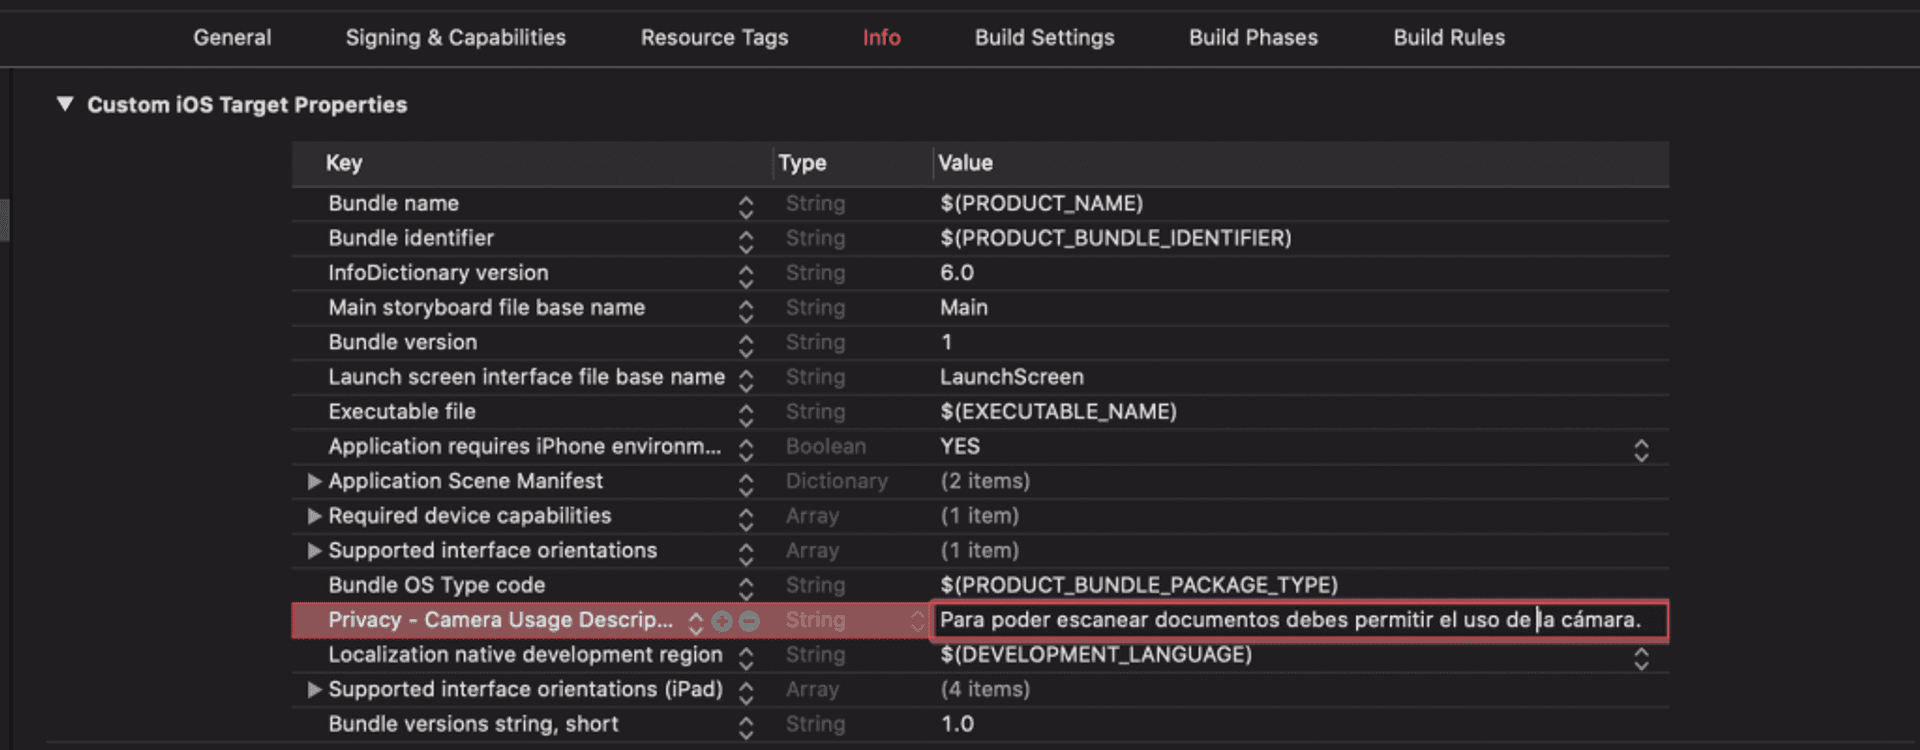
To do this, in the Info.plist file we add the key ‘Privacy – Camera Usage Description‘, along with a text that will be the one that is displayed to the user when they ask for permission (for example: “To be able to scan documents you must allow the use of the camera.“).
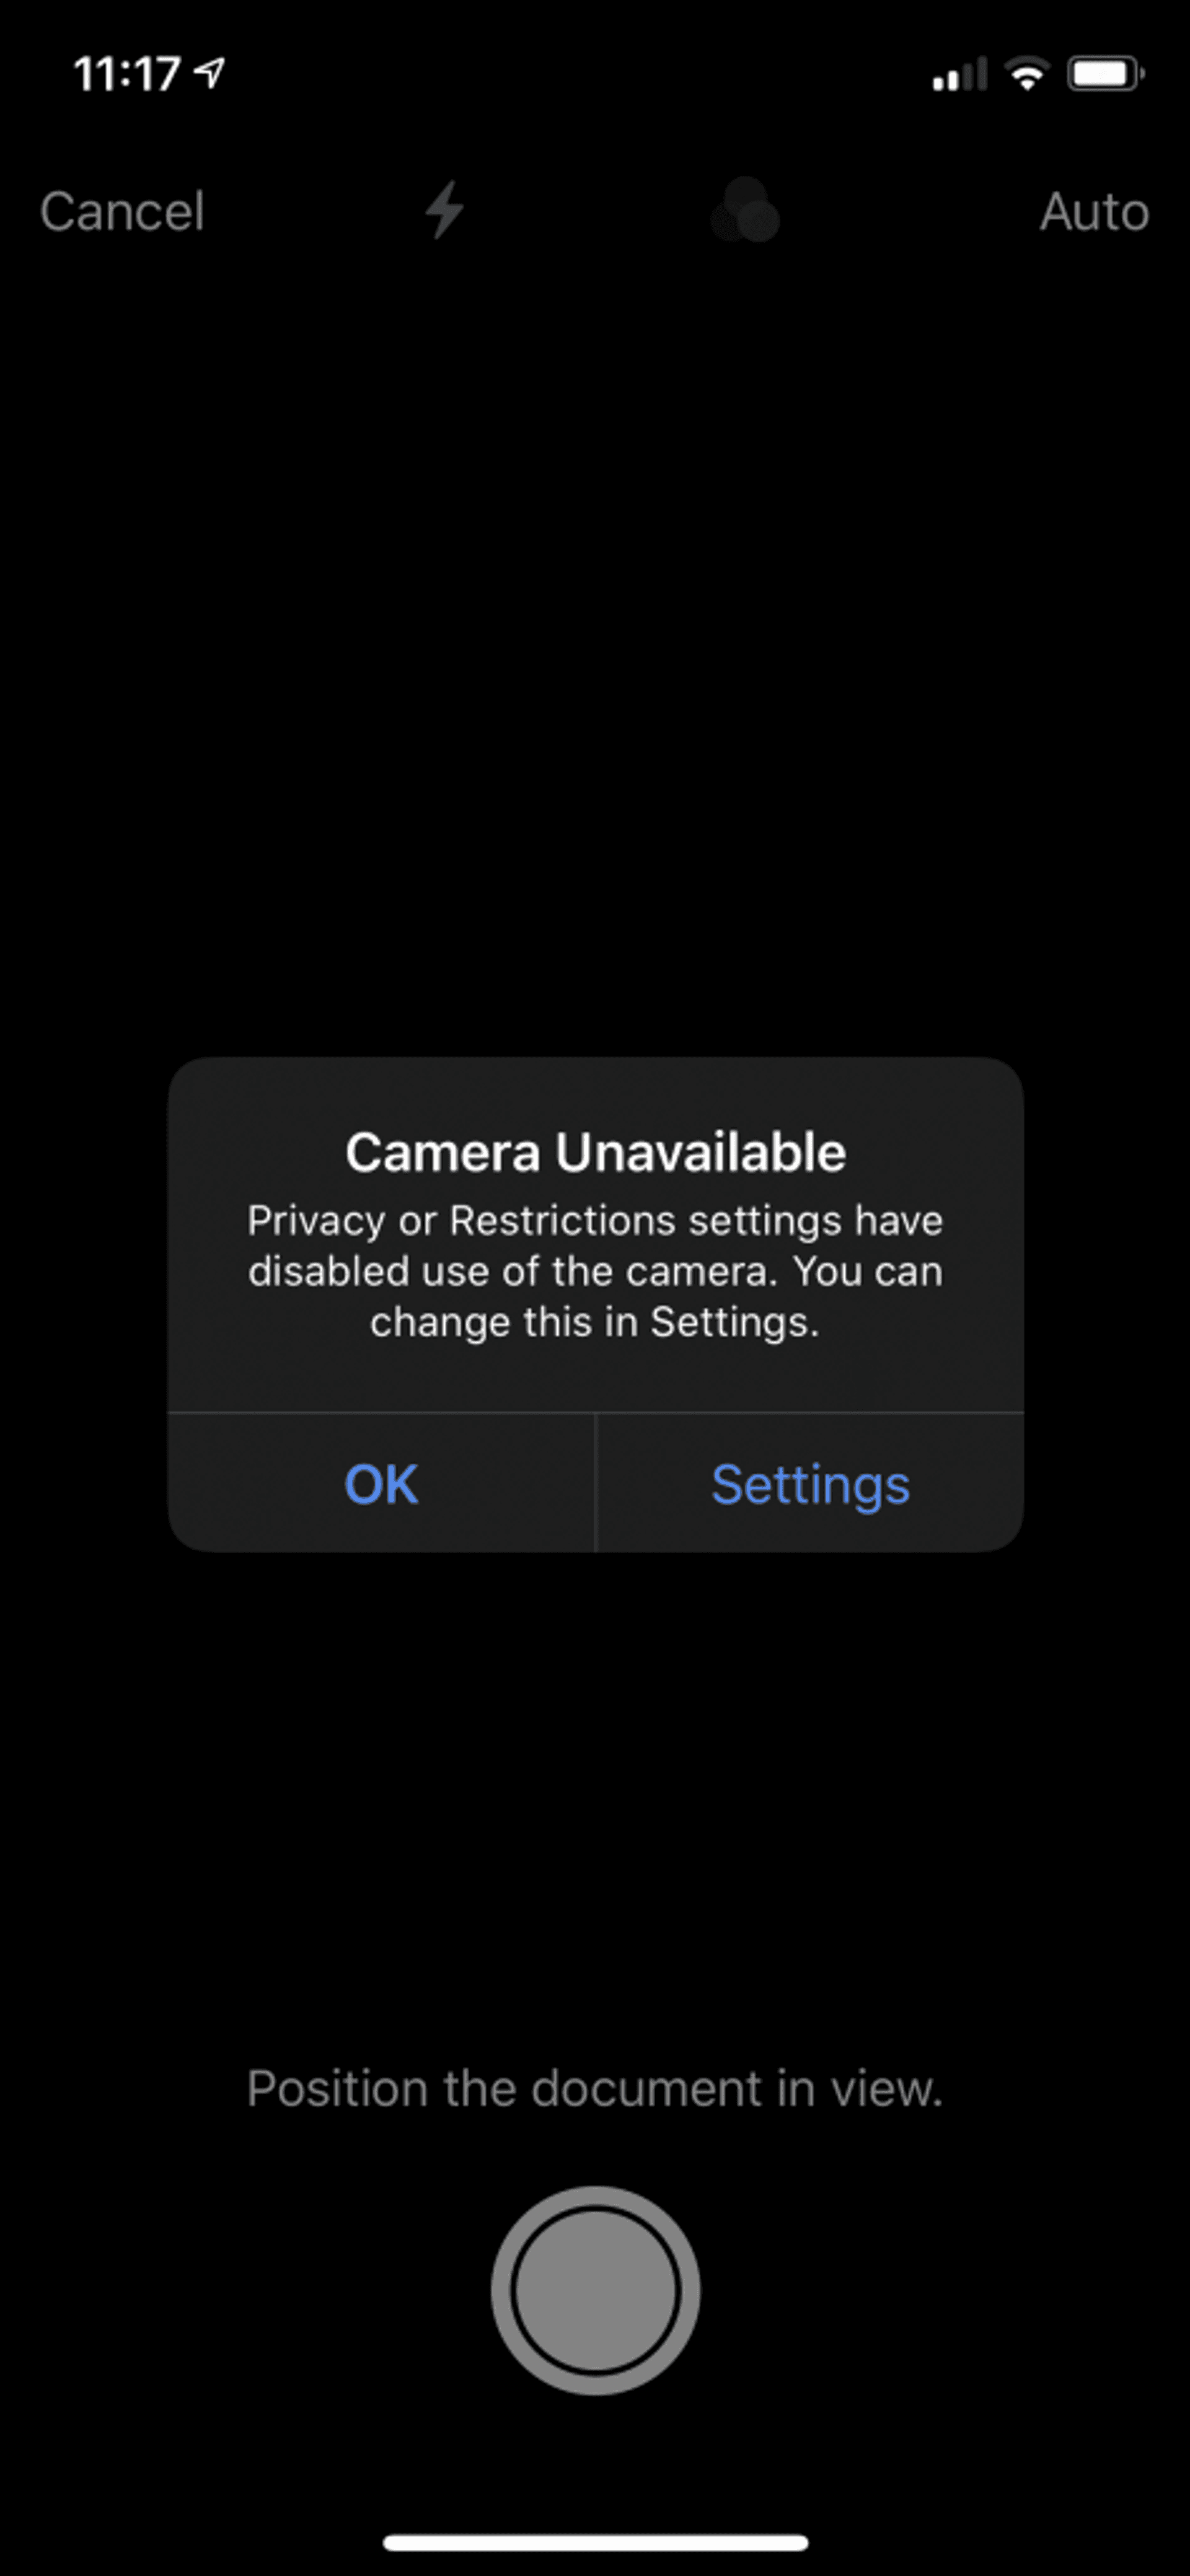
If permission is denied, when we want to scan, the following message will appear:
Interface design
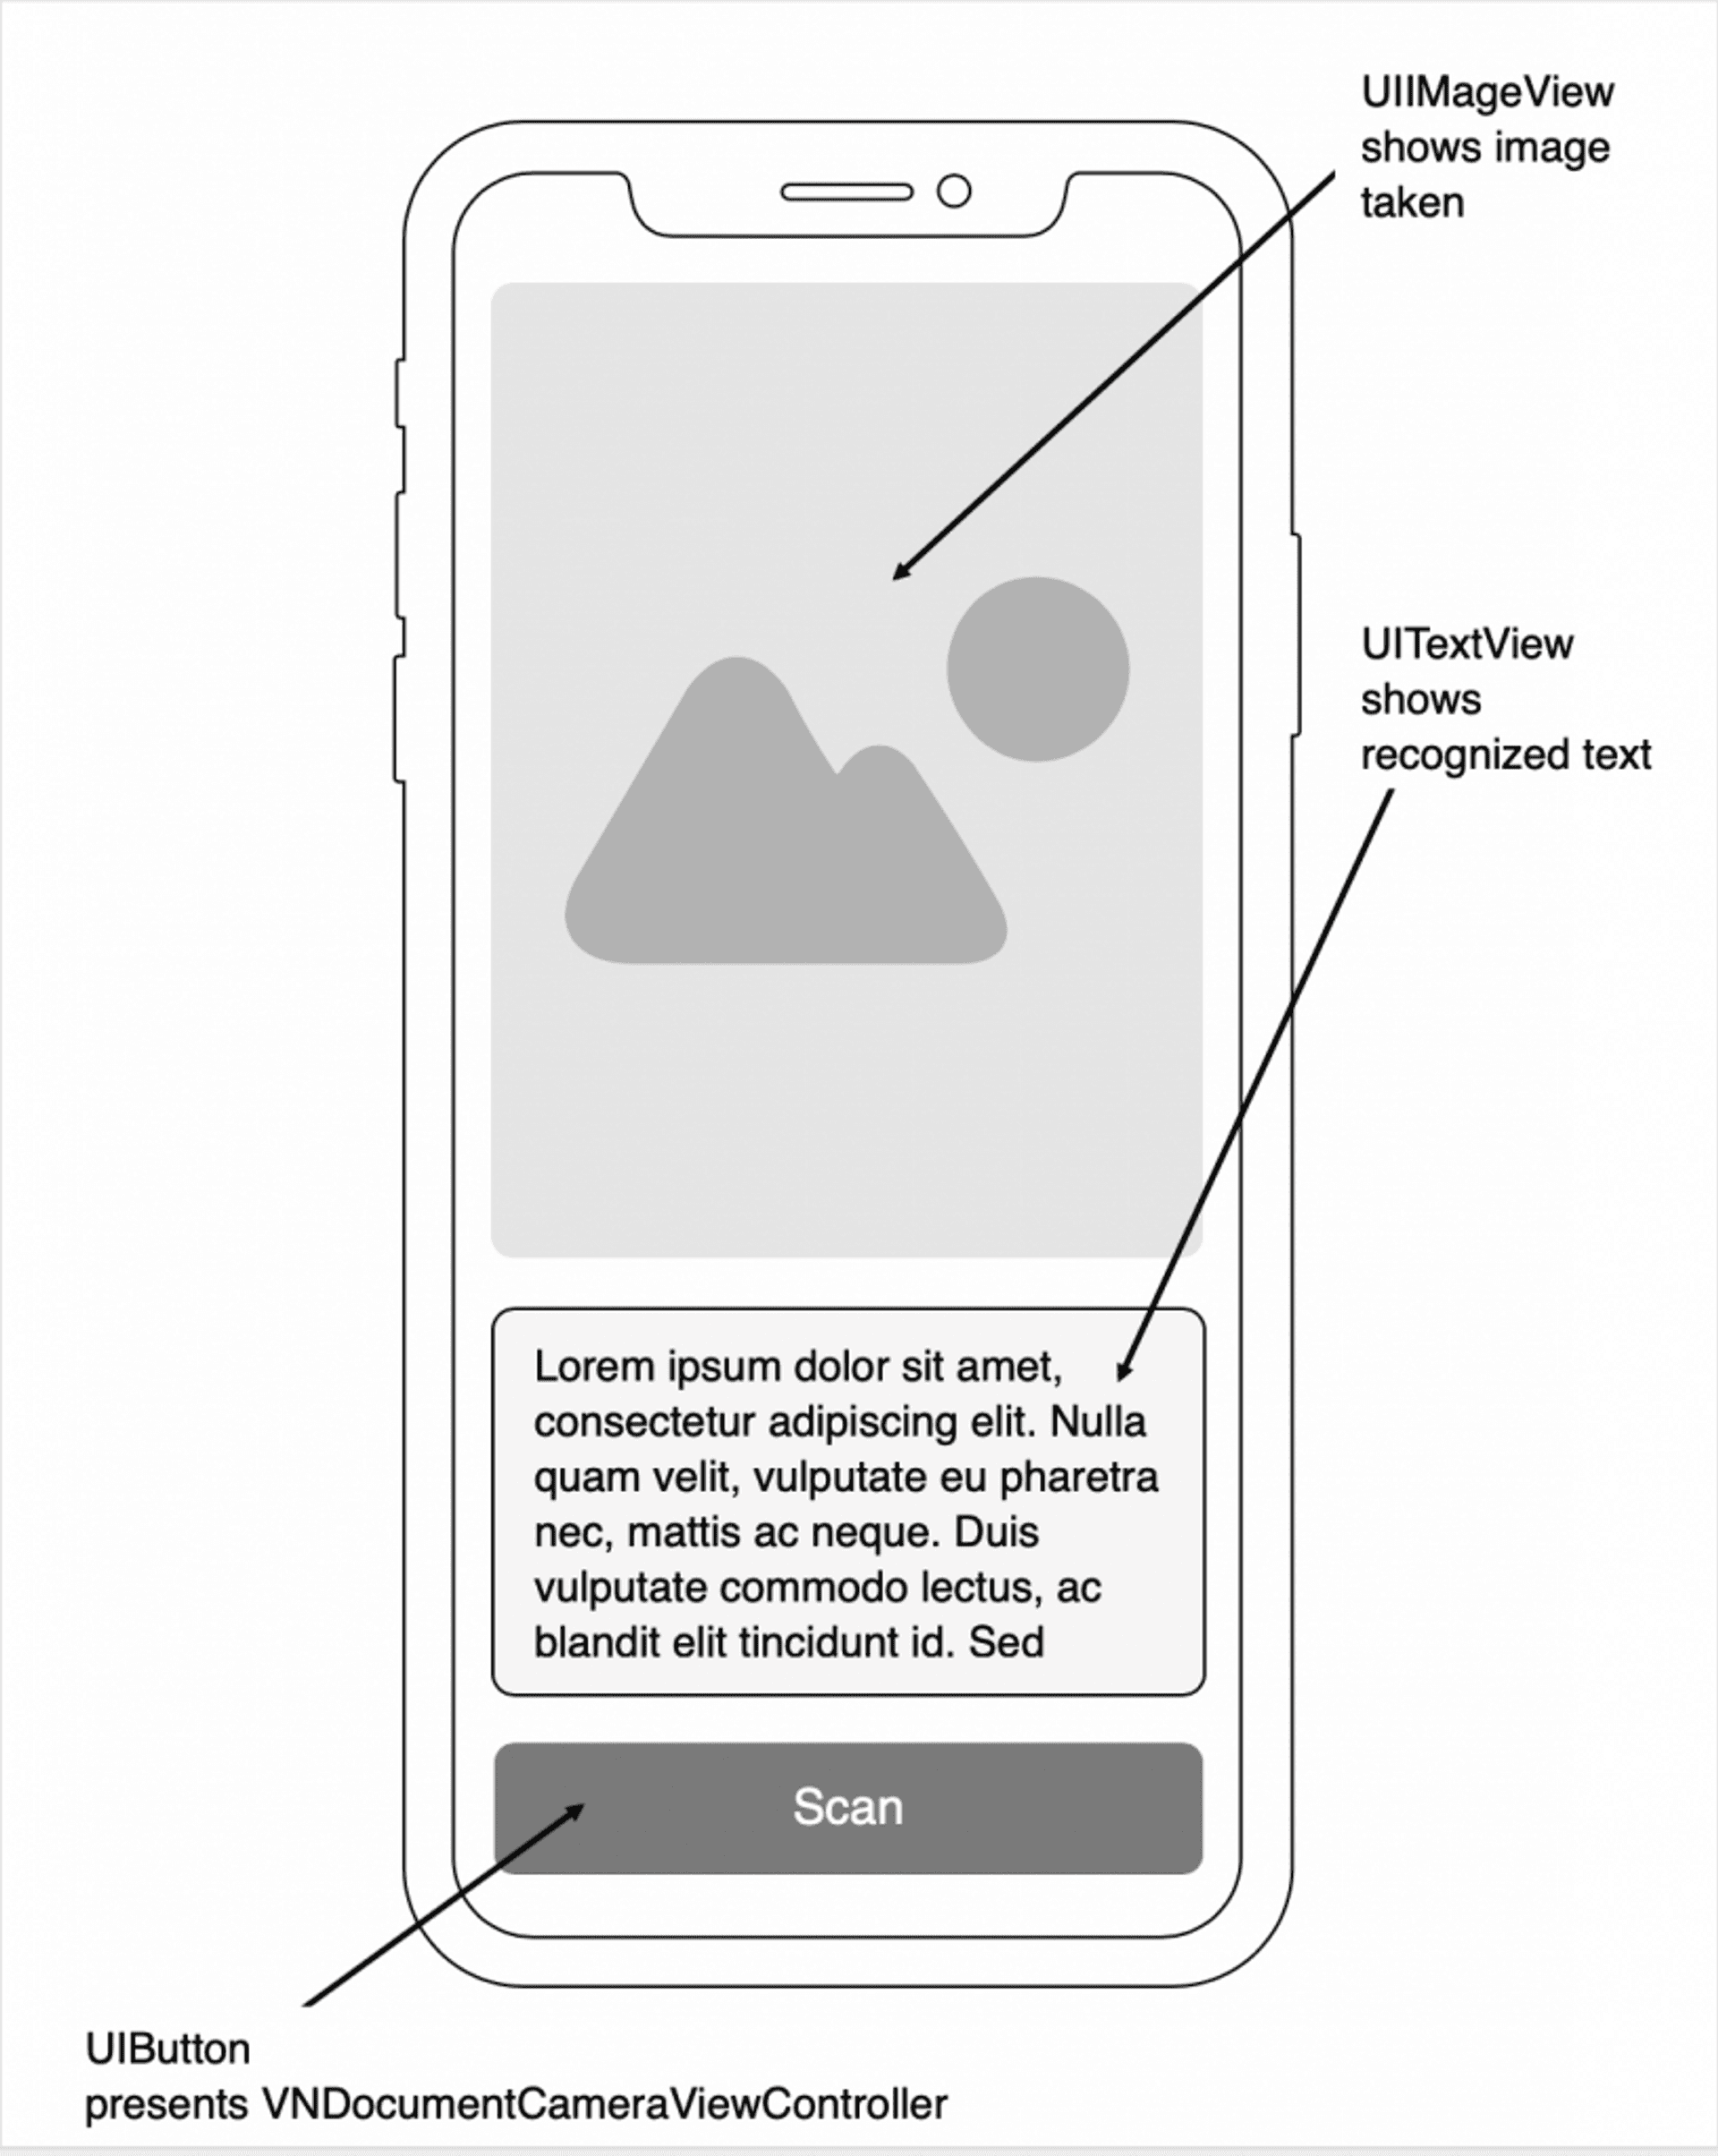
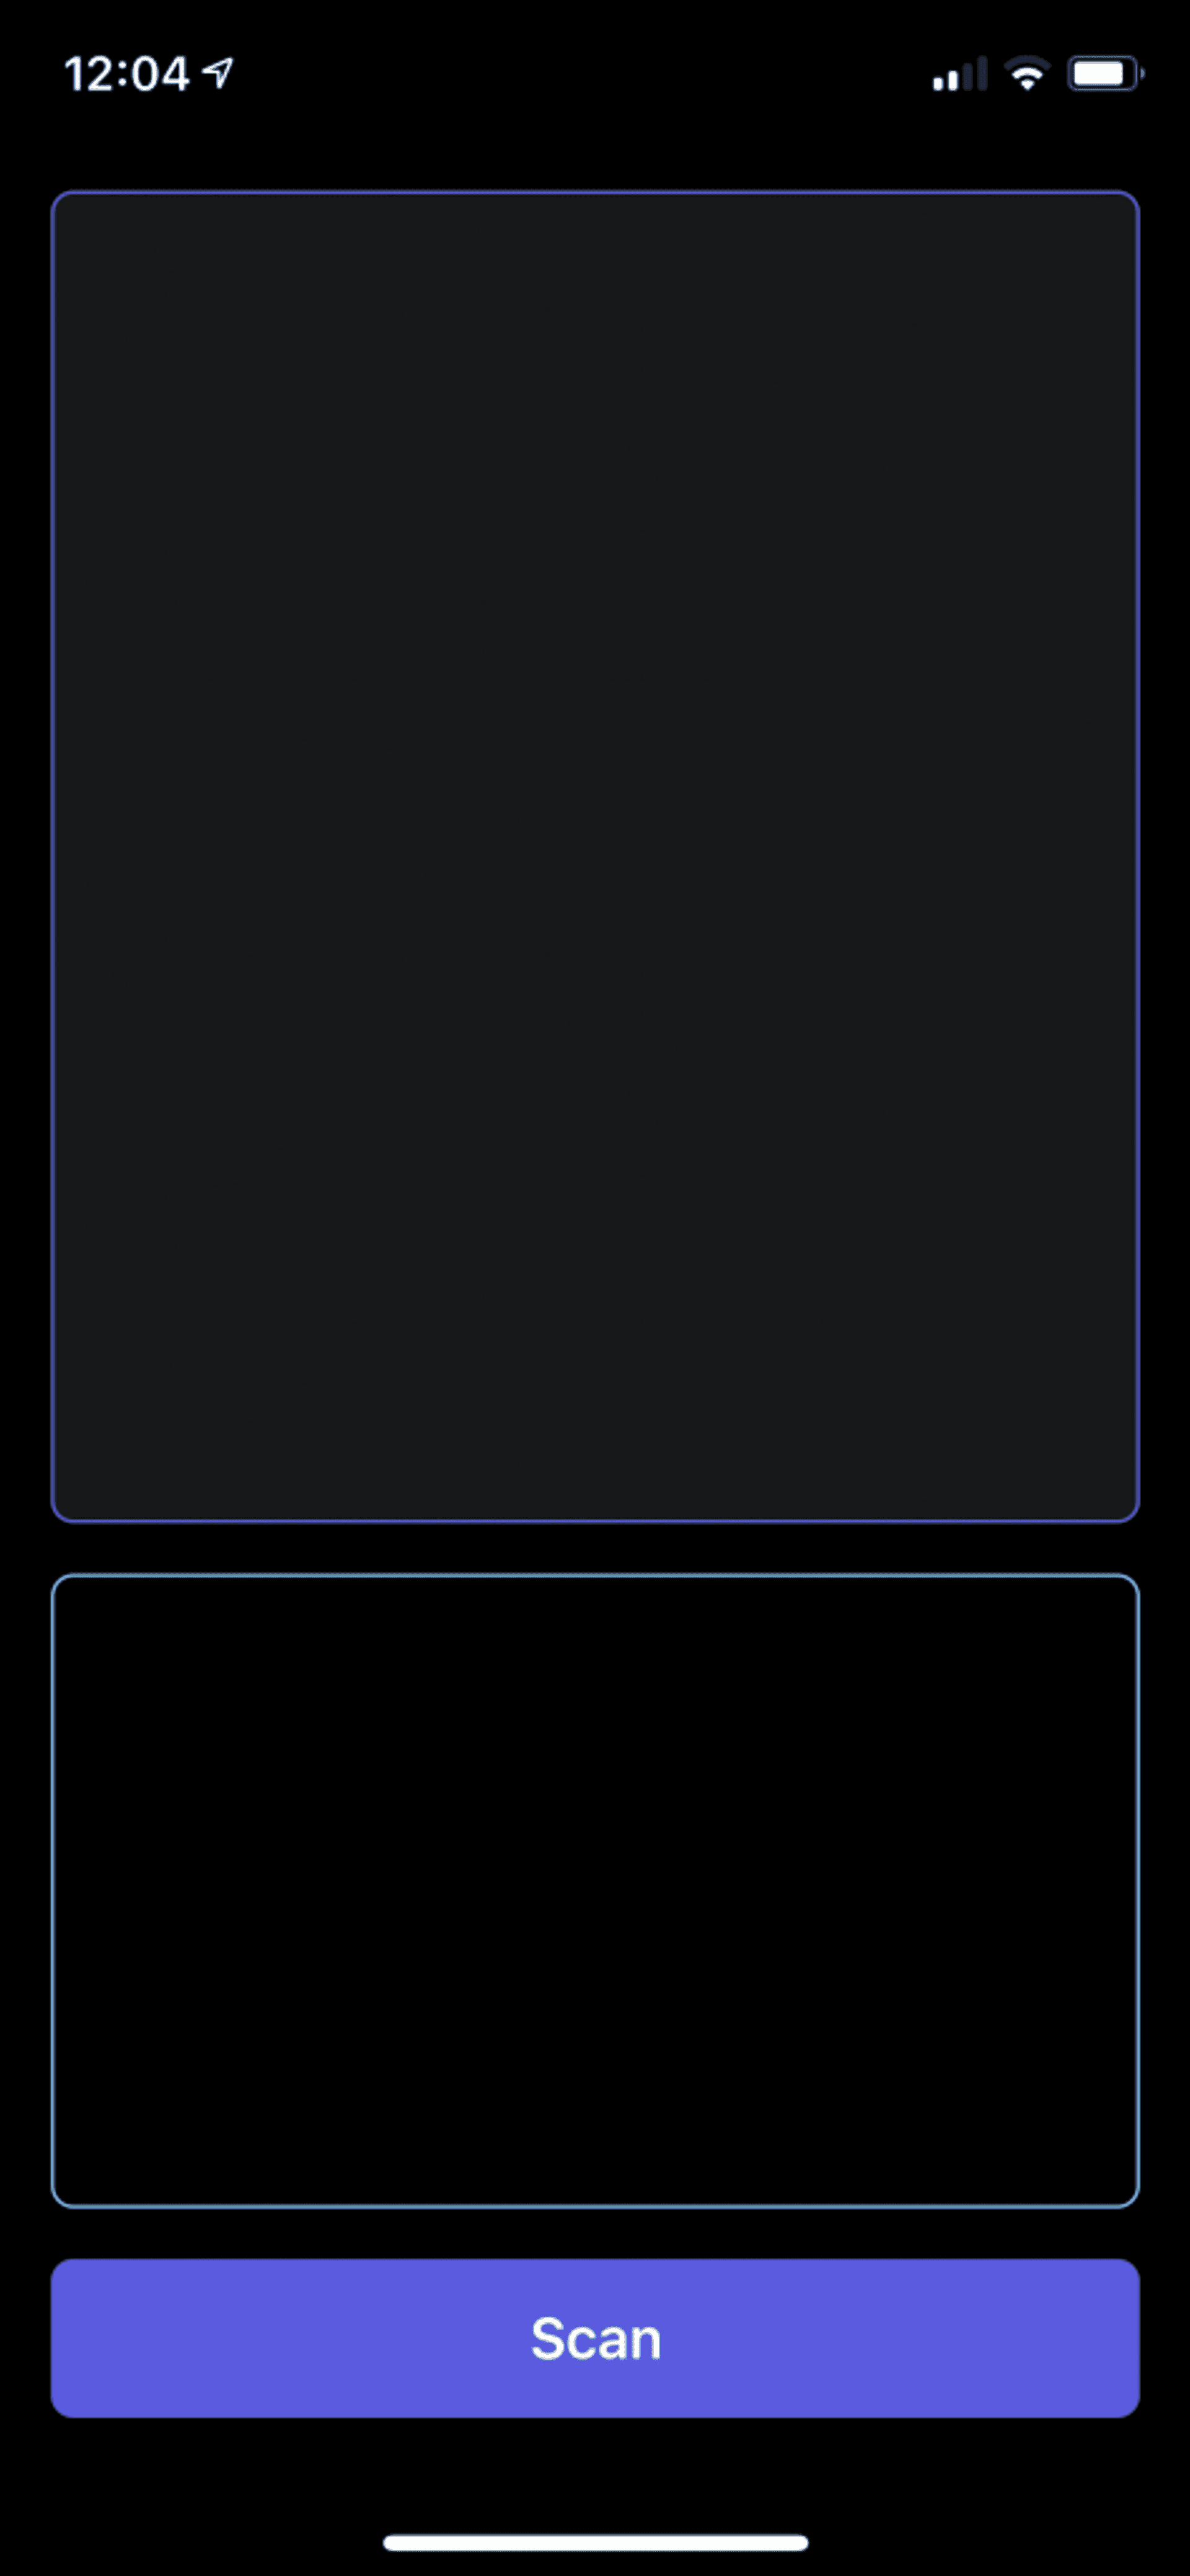
This project will basically consist of a UIImageView component, in which we will show the scanned document with the recognized text, an UITextView component to show the text that the scanner has recognized, and a UIButton component to activate the document scanning. In this project, I will do all this through code, without using storyboards or .xib files.
First we create the ScanButton component:
import UIKit

class ScanButton: UIButton {

    override init(frame: CGRect) {
        super.init(frame: frame)
        configure()
    }


    required init?(coder: NSCoder) {
        fatalError("init(coder:) has not been implemented")
    }


    private func configure() {
        translatesAutoresizingMaskIntoConstraints = false
        setTitle("Scan document", for: .normal)
        titleLabel?.font = UIFont.boldSystemFont(ofSize: 18.0)
        titleLabel?.textColor = .white
        layer.cornerRadius = 7.0
        backgroundColor = UIColor.systemIndigo
    }
}
Then the ScanImageView component:
import UIKit

class ScanImageView: UIImageView {

    override init(frame: CGRect) {
        super.init(frame: frame)
        configure()
    }


    required init?(coder: NSCoder) {
        fatalError("init(coder:) has not been implemented")
    }


    private func configure() {
        translatesAutoresizingMaskIntoConstraints = false
        layer.cornerRadius = 7.0
        layer.borderWidth = 1.0
        layer.borderColor = UIColor.systemIndigo.cgColor
        backgroundColor = UIColor.init(white: 1.0, alpha: 0.1)
        clipsToBounds = true
    }
}
And finally, the OcrTextView component:
import UIKit

class OcrTextView: UITextView {

    override init(frame: CGRect, textContainer: NSTextContainer?) {
        super.init(frame: .zero, textContainer: textContainer)

        configure()
    }


    required init?(coder: NSCoder) {
        fatalError("init(coder:) has not been implemented")
    }


    private func configure() {
        translatesAutoresizingMaskIntoConstraints = false
        layer.cornerRadius = 7.0
        layer.borderWidth = 1.0
        layer.borderColor = UIColor.systemTeal.cgColor
        font = .systemFont(ofSize: 16.0)
    }
}
Now we call them from the ViewControlller controller and position them on the screen:
import UIKit

class ViewController: UIViewController {

    private var scanButton = ScanButton(frame: .zero)
    private var scanImageView = ScanImageView(frame: .zero)
    private var ocrTextView = OcrTextView(frame: .zero, textContainer: nil)

    override func viewDidLoad() {
        super.viewDidLoad()

        configure()
    }


    private func configure() {
        view.addSubview(scanImageView)
        view.addSubview(scanButton)
        view.addSubview(scanButton)

        let padding: CGFloat = 16
        NSLayoutConstraint.activate([
            scanButton.leadingAnchor.constraint(equalTo: view.safeAreaLayoutGuide.leadingAnchor, constant: padding),
            scanButton.trailingAnchor.constraint(equalTo: view.safeAreaLayoutGuide.trailingAnchor, constant: -padding),
            scanButton.bottomAnchor.constraint(equalTo: view.safeAreaLayoutGuide.bottomAnchor, constant: -padding),
            scanButton.heightAnchor.constraint(equalToConstant: 50),

            ocrTextView.leadingAnchor.constraint(equalTo: view.safeAreaLayoutGuide.leadingAnchor, constant: padding),
            ocrTextView.trailingAnchor.constraint(equalTo: view.safeAreaLayoutGuide.trailingAnchor, constant: -padding),
            ocrTextView.bottomAnchor.constraint(equalTo: scanButton.topAnchor, constant: -padding),
            ocrTextView.heightAnchor.constraint(equalToConstant: 200),

            scanImageView.leadingAnchor.constraint(equalTo: view.safeAreaLayoutGuide.leadingAnchor, constant: padding),
            scanImageView.topAnchor.constraint(equalTo: view.safeAreaLayoutGuide.topAnchor, constant: padding),
            scanImageView.trailingAnchor.constraint(equalTo: view.safeAreaLayoutGuide.trailingAnchor, constant: -padding),
            scanImageView.bottomAnchor.constraint(equalTo: ocrTextView.topAnchor, constant: -padding)
        ])
    }
}
## Presentation of the scanning controller (VNDocumentCameraViewController)
In order to present the controller that will allow us to scan the document, we must create and present an instance of the VNDocumentCameraViewController class.
At the end of the configure method we add the following code, which allows us to call the scanDocument() method:
scanButton.addTarget(self, action: #selector(scanDocument), for: .touchUpInside)After the configure() method we create the scanDocument() method:
@objc private func scanDocument() {
    let scanVC = VNDocumentCameraViewController()
    scanVC.delegate = self
    present(scanVC, animated: true)
}
As you can see, @objc has been added in front of the function, because although we are programming in swift, #selector is a method of objective-c.
In addition, the VNDocumentCameraViewController class presents the VNDocumentCameraViewControllerDelegate protocol (which we have called in scanVC.delegate = self), so we can implement its methods. We do this in an extension of the ViewController class to have the code more organized:
extension ViewController: VNDocumentCameraViewControllerDelegate {
    func documentCameraViewController(_ controller: VNDocumentCameraViewController, didFinishWith scan: VNDocumentCameraScan) {
        guard scan.pageCount >= 1 else {
            controller.dismiss(animated: true)
            return
        }

        scanImageView.image = scan.imageOfPage(at: 0)
        // Here will be the code for text recognition

        controller.dismiss(animated: true)
    }

    func documentCameraViewController(_ controller: VNDocumentCameraViewController, didFailWithError error: Error) {
        //Handle properly error
        controller.dismiss(animated: true)
    }

    func documentCameraViewControllerDidCancel(_ controller: VNDocumentCameraViewController) {
        controller.dismiss(animated: true)
    }
}
The first method, documentCameraViewController(_ controller: VNDocumentCameraViewController, didFinishWith scan: VNDocumentCameraScan), is called when we have scanned one or more pages and saved them (Keep Scan first and then Save).
The scan object (VNDocumentCameraScan) contains three parameters:
- pageCount: is the (Int) number of pages scanned.
- imageOfPage(at index: Int): is the image (UIImage) of the page in the indicated index.
- title: is the title (String) of the scanned document. Once we have verified that one or more documents have been scanned, before removing the controller, we pass the scanned image to the scanImageView component.
The second method, documentCameraViewController(_ controller: VNDocumentCameraViewController, didFailWithError error: Error), is called when an error occurs when scanning the document, so it is at this point that we must perform some error management action (for example, in if the error is due to the fact that the user has not given permission to use the camera, we can show an alert message asking to activate the permission).
The third method, documentCameraViewControllerDidCancel(_ controller: VNDocumentCameraViewController), is called when the Cancel button of the VNDocumentCameraViewController controller is clicked. Here we will only dismiss the controller.
Text recognition
Now, in order to recognise and extract the text of the documents we have scanned, we will use the Apple Vision framework, already integrated into iOS 11. Specifically, we will use the VNRecognizeTextRequest class. This class, as the documentation indicates, searches and recognizes the text in an image. For this process we will need a request (instance of the VNRecognizeTextRequest class), in which we can define the text recognition parameters:
- customWords. They are a set of words defined by us to complement those in the dictionary and that will be used during the recognition stage (for example, names, marks, etc.).
- minimumTextHeight. It is the minimum height of the text (with respect to that of the image) from which the recognition of the text will take place. As Apple indicates in its documentation:
Increasing the size reduces memory consumption and expedites recognition with the tradeoff of ignoring text smaller than the minimum height. The default value is 1/32, or 0.03125.
In this project we will apply, as an example, some of these parameters:
var ocrRequest = VNRecognizeTextRequest(completionHandler: nil)
ocrRequest.recognitionLevel = .accurate
ocrRequest.recognitionLanguages = ["en-US", "en-GB"]
ocrRequest.usesLanguageCorrection = true
At this point, we create the configureOCR() function, which will be the one that contains the functionality to analyze, recognise and extract the text from the image:
private func configureOCR() {
    ocrRequest = VNRecognizeTextRequest { (request, error) in
    guard let observations = request.results as? [VNRecognizedTextObservation] else { return }

    var ocrText = ""
        for observation in observations {
            guard let topCandidate = observation.topCandidates(1).first else { return }

            ocrText += topCandidate.string + "\n"
        }

        DispatchQueue.main.async {
            self.ocrTextView.text = ocrText
            self.scanButton.isEnabled = true
        }
    }

    ocrRequest.recognitionLevel = .accurate
    ocrRequest.recognitionLanguages = ["en-US", "en-GB"]
    ocrRequest.usesLanguageCorrection = true
}
We will call this function in the viewDidLoad() after the configure() method. What we do in this function is to create an instance of VNRecognizeTextRequest that only contains one argument, completionHandler, which is called every time text is detected in an image.
At this point the process that occurs is:
- First we check that request.results contains a list of observations (of the type VNRecognizedTextObservation), which correspond to the lines, sentences… that the Vision library has detected.
- Next, we iterate over this list of observations. Each of these observations is made up of a series of possible candidates of what the recognized text may be, each of them with a certain level of confidence. We choose the first candidate, and add it to a text string.
- Finally we show in the OcrTextView element that we have created the principle the text obtained (remember to do it in the main thread, that’s why we use Dispatch.main.async).
Image processing
Finally, we only have to process the image captured by the scanner. For them we create a function that will take a parameter of type UIImage (the captured image), and will create an instance of type VNImageRequestHandler, which is where we will pass the ocrRequest intance that we created at the beginning:
private func processImage(_ image: UIImage) {
    guard let cgImage = image.cgImage else { return }

    ocrTextView.text = ""
    scanButton.isEnabled = false

    let requestHandler = VNImageRequestHandler(cgImage: cgImage, options: [:])
    do {
        try requestHandler.perform([self.ocrRequest])
    } catch let error {
        print(error)
    }
}
As the documentation indicates, to instantiate this type we need to use CGImage, and not UIImage (since it works with Core Graphics), so we get that parameter from the image we have passed.
We can also pass a list of options of the VNImageOption type (which describe specific properties of the image or how it should be treated), although in this case we will not pass any.
Finally, we apply the text recognition request (ocrRequest). This method, processImage(_ image: UIImage), will be called at the end of the documentCameraViewController(_ controller: VNDocumentCameraViewController, didFinishWith scan: VNDocumentCameraScan) method and just before dismissing the controller with controller.dismiss(animated: true).
func documentCameraViewController(_ controller: VNDocumentCameraViewController, didFinishWith scan: VNDocumentCameraScan) {
    guard scan.pageCount >= 1 else {
        controller.dismiss(animated: true)
        return
    }

    scanImageView.image = scan.imageOfPage(at: 0)

    processImage(scan.imageOfPage(at: 0))

    controller.dismiss(animated: true)
}
Scanner test
Now we can test the application. To do this we turn it on and capture an image.
As you can see, it perfectly recognizes the text of the image.
Conclusion
As we have seen, thanks to the Vision and VisionKit libraries we can easily build our own document scanner on our mobile. Remember that you can download the entire project on GitHub.

